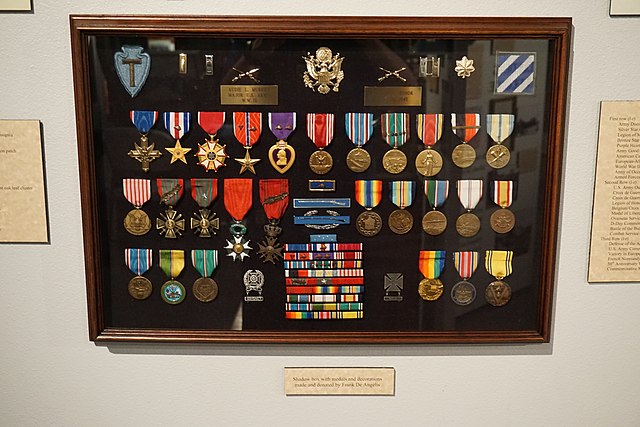
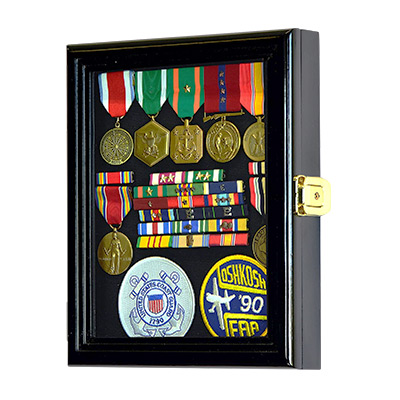
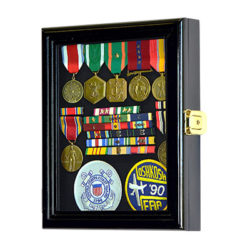
A shadow box is a type of display case quite popular with collectors. The box is designed to showcase and protect items such as medals, ribbons, photographs, and other memorabilia. The name, in fact, refers to the depth of the box, which allows for three-dimensional items to be arranged in a visually appealing way.
If you have a collection of medals, shadow boxes can be a great way to mount them. Plus, you can customize your display to add inscriptions, photos, and contextual information (such as newspaper clippings).
Shadow boxes are commonly used by veterans or families to honor military service and achievements, too. So, let’s take a look at the different options available and whether you should consider making your own!
How is a Shadow Box Used to Display Medals?
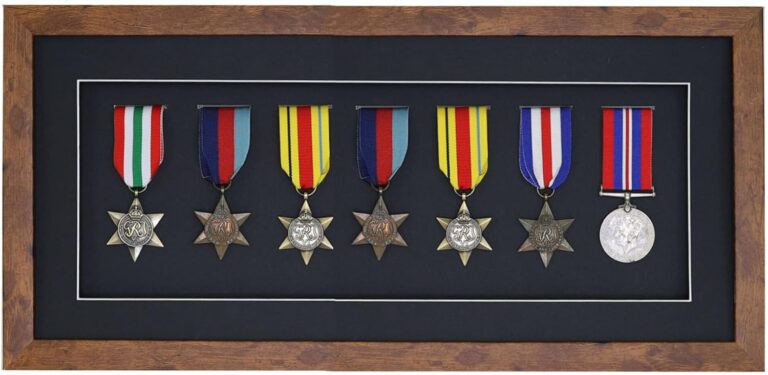
Shadow boxes are popular for displaying military medals, awards, and other honors. Often, medals are arranged in order of importance or chronological order of when they were awarded. Mounting, design, and protection also play a role in how you plan your shadow box.
When deciding between buying or making a shadow box, keep reading to find out the best way to consider factors such as your budget, time, and the level of customization you desire.
Selection and Arrangement
The first step in using a shadow box to display a collection is to select the medals and any accompanying items. The main goal for an arrangement is to ensure that each item is visible and presented attractively.
When displaying medals, there are several creative and meaningful ways to arrange them. Here are some ideas to consider:
By Order of Importance
- Highest Honors First: Place the most prestigious or highest-ranking medals at the top or center of the display. This approach highlights the significance of the top honors.
- Descending Order: Arrange medals in descending order of importance, ensuring the most important medals are prominently visible.
Chronologically
- By Date Awarded: Display medals in the order they were received. This method creates a timeline of achievements and showcases the progression of accomplishments.
- Event-Based: Group medals by specific events or periods in the recipient’s life, such as military campaigns, sports seasons, or career milestones.
Thematic Groupings
- By Type: Separate medals into categories such as military, civilian, sports, academic, or professional awards.
- By Campaign or Conflict: For military medals, group them by specific wars, campaigns, or missions to tell a detailed story of the recipient’s service.
Personalized and Storytelling Displays
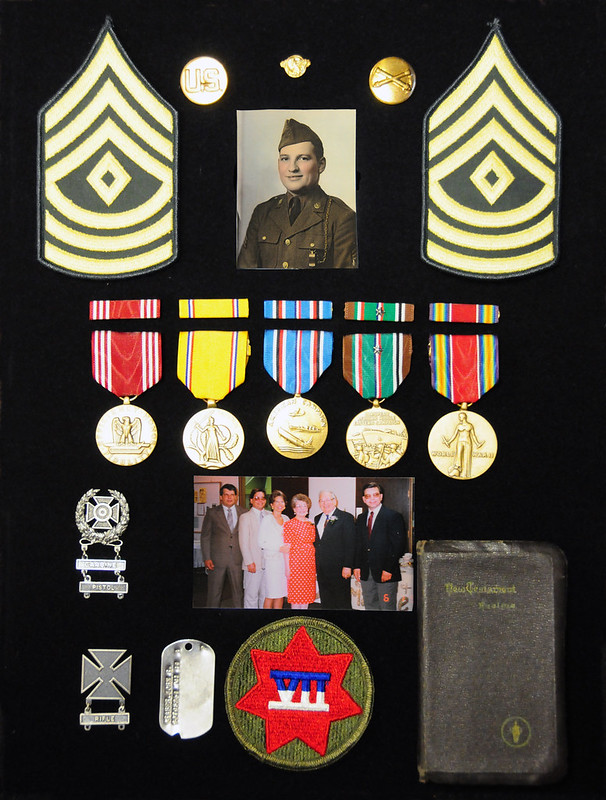
- Personal Journey: Arrange medals alongside photos, documents, and other memorabilia that highlight the recipient’s personal journey and experiences.
- Accompanied by Narrative: Include captions or brief narratives with each medal to explain the context and significance of each award.
Combined with Other Memorabilia and Interactive
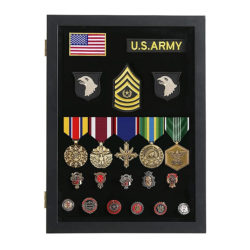
- Integrated Display: Combine medals with other personal artifacts such as uniforms, badges, certificates, and photographs to create a comprehensive and engaging display.
- Digital Displays: Incorporate digital photo frames or QR codes that link to videos or websites with more detailed stories about the medals and the recipient’s achievements.
Mounting
Medals and other items are mounted onto a backing material within the shadow box. This backing can be fabric, felt, or any material that complements the items. Mounting methods include using pins, adhesive, or mounting brackets designed for securing medals. Here are different mounting methods explained in detail:
Pins
Using straight pins or sewing pins to attach medals to the backing material.
- How it Works: The pins are inserted through the medal ribbons and into the backing, securing the medals in place. This method is minimally invasive and preserves the integrity of the medals and ribbons.
- Advantages: Pins are easily adjustable, allowing for repositioning of the medals. They are also relatively simple to use and do not require any permanent alteration of the medals.
- Disadvantages: Over time, the weight of heavier medals might cause the pins to shift, and repeated adjustments can wear out the backing material.
Adhesive
Using glue, double-sided tape, or adhesive strips to attach medals and other items to the backing.
- How it Works: A small amount of adhesive is applied to the back of the medals or their ribbons, then pressed firmly onto the backing material.
- Advantages: Adhesive mounting provides a clean, flush appearance with no visible mounting hardware. It’s also a straightforward and quick method.
- Disadvantages: Adhesives can be difficult to remove and may leave residue on the medals or backing. Some adhesives may not be strong enough to hold heavier medals securely over time.
Mounting Brackets
Using brackets specifically designed for mounting medals and other items.
- How it Works: Brackets are small metal or plastic clips that hold the medals in place. They are typically attached to the backing with screws or strong adhesive.
- Advantages: Brackets provide a secure and stable hold for medals, especially heavier or larger ones. They can also be repositioned if necessary.
- Disadvantages: Installing brackets requires more effort and precision. Depending on the design, brackets might be visible, which could affect the overall aesthetic of the display.
Velcro Strips
Using Velcro strips to attach medals and other items to the backing.
- How it Works: One side of the Velcro is attached to the backing, and the other side is attached to the back of the medals or their ribbons. The two sides are then pressed together to hold the medals in place.
- Advantages: Velcro strips allow for easy removal and repositioning of medals. They also provide a strong hold without damaging the medals or backing.
- Disadvantages: Velcro can add bulk behind the medals, potentially affecting the flush appearance of the display.
Sewing
Sewing medals directly onto the backing material.
- How it Works: Using needle and thread, the ribbons of the medals are sewn onto the backing. This method is often used for fabric backings like felt or velvet.
- Advantages: Sewing provides a very secure attachment, ensuring that medals remain in place even when the display is moved or jostled. It also allows for a clean, elegant appearance.
- Disadvantages: Sewing is time-consuming and requires some skill. It also involves making small holes in the medal ribbons, which may not be desirable for all collectors.
Using Foam Inserts
Cutting foam inserts to fit the shape of the medals and placing them inside the shadow box.
- How it Works: The foam is cut to the exact dimensions of the medals, which are then pressed into the foam. This holds the medals securely in place.
- Advantages: Foam inserts provide a custom fit for each medal, ensuring they do not move or shift. They also protect the medals from damage.
- Disadvantages: Cutting foam inserts requires precision, and once cut, the foam cannot be easily adjusted for different medals.
Design and Customization
The design of the shadow box can be customized to reflect personal preferences or to enhance the aesthetic appeal. Customization options include selecting the frame material and color, the type of glass or acrylic cover, and the background fabric. Personalized plaques or inscriptions can also be added to provide context or commemorate specific achievements.
Frame Material and Color
A classic choice, wood frames offer a traditional and elegant look. Different types of wood (oak, mahogany, pine, etc.) can provide varying shades and grain patterns. Natural wood tones also tend to enhance the natural beauty of the wood grain and can complement a wide range of interior styles.
Metal frames, often made of aluminum or steel, provide a modern and sleek appearance. They are durable and can be finished with various coatings such as brushed, polished, or matte. Frames can be painted in any color, from classic black or white to bold, vibrant hues. Options like gold, silver, bronze, or chrome can also add a touch of sophistication and highlight the prestige of the medals.
Type of Glass or Acrylic Cover
Glass:
- Standard Glass: Provides a clear view of the display but can be prone to glare and reflections.
- Non-Glare Glass: Treated to reduce reflections and glare, making it easier to view the contents from different angles.
- UV-Protective Glass: Filters out ultraviolet light to prevent fading and damage to the medals and fabric over time. This is especially important for preserving the colors and integrity of the display.
Acrylic:
- Standard Acrylic: Lighter and more shatter-resistant than glass, making it a safer option, especially in areas prone to impacts.
- Non-Glare Acrylic: Reduces reflections similarly to non-glare glass, providing a clearer view of the display.
- UV-Protective Acrylic: Offers the same UV protection as UV-protective glass but with the added benefits of being lighter and more impact-resistant.
Background Fabric
Types of Fabric:
- Velvet: A luxurious choice that provides a rich, textured background. Velvet comes in various colors and adds a touch of elegance to the display.
- Felt: A versatile and commonly used material that is easy to work with. Felt is available in many colors and provides a soft, non-reflective background.
- Silk: Adds a high-end, sophisticated look. Silk backgrounds are smooth and can make the medals stand out prominently.
- Linen or Cotton: These natural fabrics offer a clean, classic look and are available in many shades to complement the medals and frame.
Color Options:
- Neutral Colors: Black, white, or beige backgrounds create a classic, understated look that allows the medals to be the focal point.
- Bold Colors: Red, blue, green, or other vibrant colors can enhance the visual impact of the display and may be chosen to reflect specific themes or match room decor.
- Patterned Fabrics: While less common, patterned backgrounds can add a unique touch, provided they do not distract from the medals. Patterns can be subtle, such as a tone-on-tone design, to add texture without overwhelming the display.
Additional Customization Options
Engraved Plaques: Adding engraved plaques with details about each medal, such as the date awarded, the recipient’s name, and the significance of the award, provides context and enhances the narrative of the display.
Lighting: Incorporating LED lights within the shadow box can illuminate the medals, highlighting their details and adding a dramatic effect. Lights can be strategically placed to avoid reflections and shadows.
Personal Touches: Including personal items such as photographs, documents, or small mementos alongside the medals can create a more comprehensive and personalized display.
Protection
A key purpose of the shadow box is to protect the contents from dust, light, and physical damage. The enclosed design helps preserve the condition of the medals and other memorabilia. UV-protective glass or acrylic is often used to prevent fading from exposure to light.
Option 1: Buying a Shadow Box
Buying a shadow box is a convenient and effective way to display and protect medals and other memorabilia. Ready-made shadow boxes are available in various sizes, materials, and designs, making it easy to find one that suits your specific needs and aesthetic preferences.
Some benefits of buying include:
- Pre-made shadow boxes are readily available from many retailers, both online and in physical stores. This convenience saves time and effort compared to creating a custom shadow box from scratch.
- There is a wide range of options in terms of size, frame material, color, and background fabric. This variety allows you to choose a shadow box that matches the items you wish to display.
- Purchased shadow boxes are often made from durable materials designed to protect and preserve your items. Many come with UV-protective glass or acrylic to prevent fading from light exposure.
Basic shadow boxes can range from $20 to $50. Mid-range options with additional features such as UV-protective glass and customizable backgrounds typically range from $50 to $150, and high-end, professionally crafted shadow boxes with custom framing and premium materials can range from $150 to $500 or more.
Here are some ideas if you’re looking to buy a shadow box for your medals:
-
Pin and Badge Display Case with UV Protection
$73.20 Get it from Amazon -
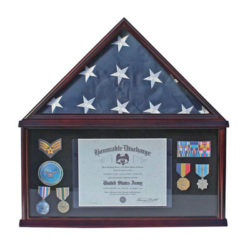
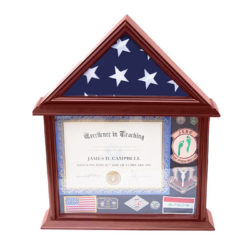
Memorial Display and Flag Case Storage
$139.27 Get it from Amazon -
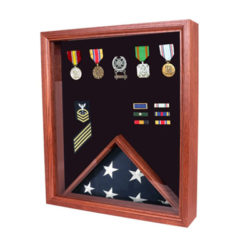
Memorial Display Case Storage Square
$89.95 Get it from Amazon -
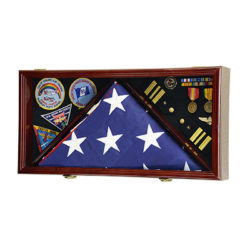
Large Memorial Frame Cabinet Shadowbox
$65.99 Get it from Amazon -
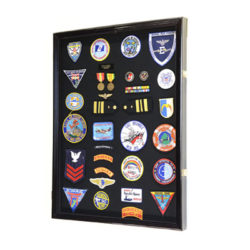
XL Case Cabinet Shadowbox
$69.99 Get it from Amazon -
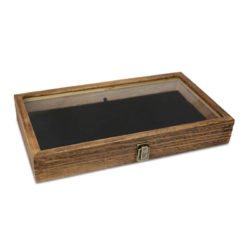
Medals Display Box in Natural Wood
$19.99 Get it from Amazon -
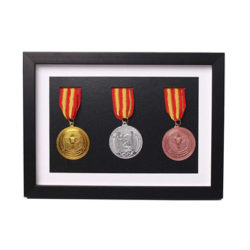
Solid Wood Medal Box Fits Three Awards
$43.99 Get it from Amazon -
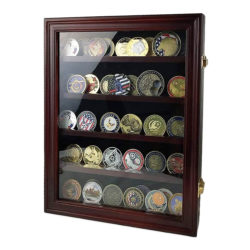
Military Coin Hanging Display Case
$57.33 Get it from Amazon -
Small Memorial Display Case Storage
$79.95 Get it from Amazon -
XS Display Case Cabinet Box with UV Protection
$33.99 Get it from Amazon
A Couple of Considerations When Buying a Shadow Box
Ensure the shadow box is appropriately sized for the items you want to display. Measure the dimensions of your medals and any other items to make sure they will fit comfortably within the box.
Check the type of mounting hardware included with the shadow box. Many come with pins, adhesive, or brackets designed to securely hold medals and other items.
Option 2: Creating Your Own Shadow Box
Creating your own shadow box is a rewarding and personalized way to display medals and memorabilia. This approach allows for complete customization and the opportunity to infuse your personal touch into the display.
Some benefits of going the shadow box DIY way include:
- Crafting your own shadow box allows you to choose every element, from the frame and background fabric to the arrangement of the items.
- You can include additional elements such as engraved plaques, photos, and other memorabilia that might not fit into a pre-made shadow box.
- Building a shadow box from scratch provides a creative outlet. It allows you to experiment with different materials, layouts, and design elements, making the project both fun and fulfilling. This process can be particularly meaningful if the shadow box is intended as a gift, adding a personal touch that pre-made options cannot match.
- Depending on the materials chosen, creating a shadow box can be more cost-effective than purchasing a high-end pre-made one.
Steps to Creating Your Own Shadow Box
Gather Materials
- Frame: Choose a deep frame or shadow box kit. Frames can be sourced from craft stores, thrift shops, or online retailers. Ensure the frame is deep enough to accommodate the items you plan to display.
- Backing Material: Select a material for the backing, such as fabric (felt, velvet, or linen) or paper. The backing material should complement the items and the overall design.
- Mounting Hardware: Collect mounting materials such as pins, adhesive, Velcro, or mounting brackets. These will be used to secure the items within the shadow box.
- Glass or Acrylic Cover: If the frame does not come with a cover, you will need a piece of glass or acrylic to protect the display.
Prepare the Frame
- Disassemble the frame and clean it thoroughly. If necessary, paint or stain the frame to match your desired color scheme.
- Cut the backing material to fit the dimensions of the frame. Attach the backing material to the frame using glue or staples, ensuring it is smooth and free of wrinkles.
Plan the Layout
- Arrange the items on the backing material before attaching them. Experiment with different layouts to find the most visually appealing arrangement. Consider the balance and spacing between items.
- Include additional elements like engraved plaques or small mementos to enhance the display.
Mount the Items
- Secure the items to the backing material using your chosen mounting method. For heavier items, use sturdy mounting brackets or Velcro. For lighter items, pins or adhesive may be sufficient.
- Ensure that all items are securely attached and that the display looks neat and organized.
Assemble the Shadow Box
- Once all items are mounted, reassemble the frame with the backing and the cover. Make sure the cover is clean and free of smudges or dust.
- Double-check that everything is securely in place and that the display looks as intended.
Here are some videos to help you get started:
Conclusion
Medal shadow boxes are an elegant and meaningful way to display and protect cherished medals and memorabilia.
Purchasing a shadow box provides convenience, a wide range of styles, and professional quality, making it an excellent choice for those looking for a quick and reliable solution. On the other hand, creating your own shadow box allows for complete personalization, creative expression, and can be a cost-effective alternative, offering a deeply personal touch to your display.
Regardless of the method you choose, a well-crafted shadow box will preserve and showcase your medals for years to come, allowing you and others to appreciate the stories and accomplishments they represent.